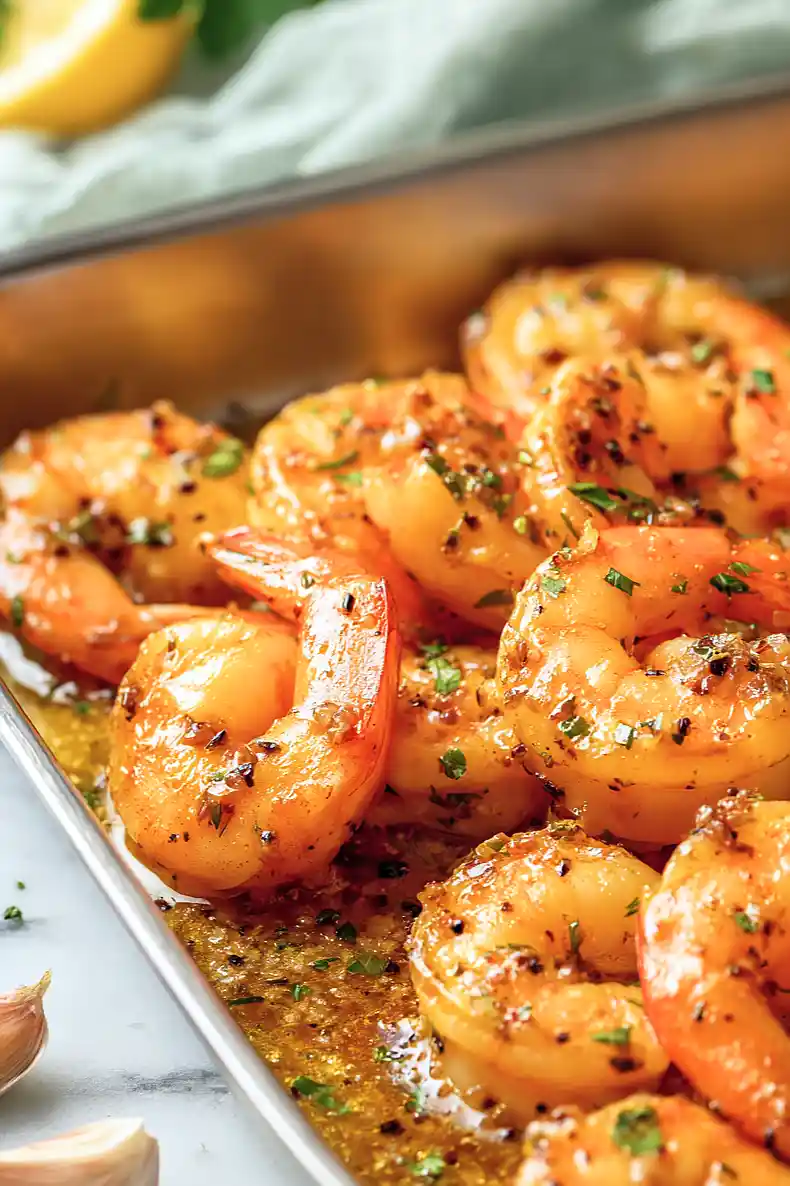
Low-carb eating doesn’t mean you have to give up flavor. I’ve been making keto meals for a while now, and this garlic butter shrimp is one of those recipes that makes me forget I’m even watching carbs. It comes together in less than 20 minutes, which is perfect for those nights when I need dinner on the table fast.
The secret is really good butter and fresh garlic. I know some people reach for garlic powder, but trust me on this one. Fresh garlic makes all the difference. And when you add that squeeze of lemon at the end, everything just brightens up.
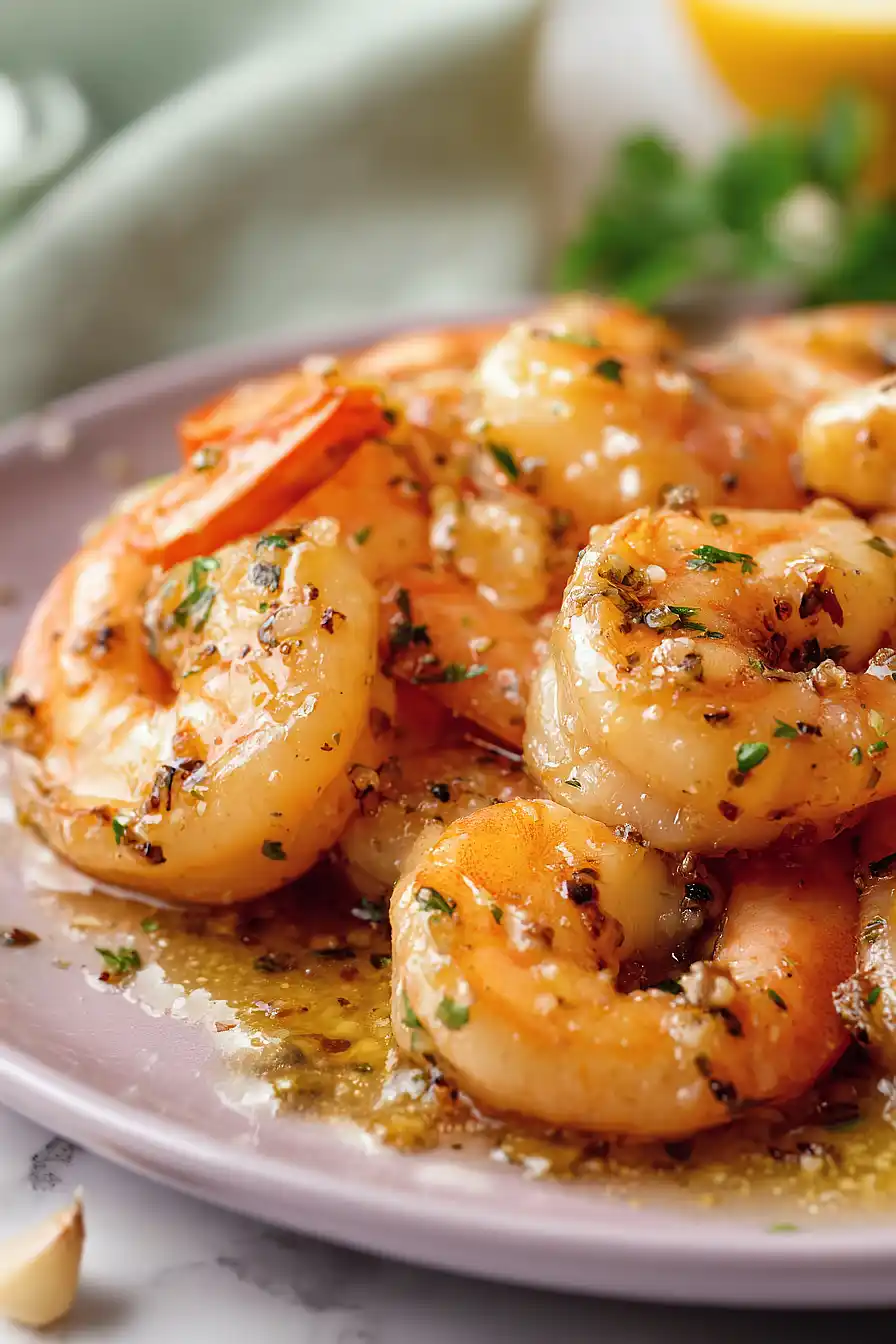
This recipe works for so many occasions. Need a quick weeknight dinner? Serve it over zucchini noodles. Having friends over? Put it in a nice dish with some crusty bread on the side for them. I’ve even made it as an appetizer for parties. The best part is that it looks like you spent way more time in the kitchen than you actually did.
Why You’ll Love This Garlic Butter Shrimp
- Ready in under 30 minutes – This is one of those recipes you can whip up on a busy weeknight when you need dinner on the table fast.
- Keto-friendly and low-carb – Perfect if you’re watching your carbs or following a keto diet, with all the flavor and none of the guilt.
- Simple ingredients – You probably have most of these pantry staples already, and shrimp cooks so quickly that it’s an easy go-to protein.
- Restaurant-quality flavor at home – The garlic butter sauce is so good, you’d think it came from your favorite seafood spot, but it’s way easier (and cheaper) to make yourself.
- Naturally gluten-free and high-protein – This dish checks all the boxes for a healthy dinner that doesn’t skimp on taste.
What Kind of Shrimp Should I Use?
You can use fresh or frozen shrimp for this recipe, and both will turn out great. If you’re using frozen shrimp, just make sure to thaw them completely in the fridge overnight or run them under cold water for a quick thaw before cooking. When it comes to size, medium to large shrimp (around 26-30 count per pound or 16-20 count) work best since they’re easier to work with and won’t overcook as quickly. As for whether to keep the shells on or off, that’s totally up to you – shell-on shrimp tend to be a bit more flavorful and juicy, but peeled shrimp are obviously more convenient to eat.
Options for Substitutions
This simple shrimp recipe is easy to customize with a few swaps:
- Shrimp: You can use shrimp with shells on or off – both work great. Shell-on shrimp tend to have more flavor, but peeled shrimp are easier to eat. If you want to switch things up, this recipe also works well with scallops or chunks of firm white fish like cod or halibut.
- Butter: For a dairy-free option, swap the butter with ghee or olive oil. Ghee keeps that rich, buttery taste while olive oil gives you a lighter, more Mediterranean flavor.
- Italian seasoning: Don’t have Italian seasoning on hand? Mix together equal parts dried basil, oregano, and thyme. Or try Cajun seasoning for a spicier kick.
- Lemon juice: Fresh lemon juice is best, but bottled works in a pinch. You can also use lime juice for a slightly different citrus twist.
- Garlic cloves: Fresh garlic is key here and really shouldn’t be substituted – it’s what makes this dish shine. But if you’re in a bind, use 1 teaspoon of garlic powder, though the flavor won’t be quite as good.
Watch Out for These Mistakes While Cooking
The biggest mistake when making garlic butter shrimp is overcooking them, which turns them rubbery and tough – shrimp are done when they turn pink and opaque, so start checking around the 15-minute mark instead of waiting the full 20 minutes, especially if your shrimp are on the smaller side.
Burning the garlic is another easy trap to fall into, so keep your heat at medium-low when cooking those smashed cloves and watch them carefully – burnt garlic tastes bitter and will ruin your butter sauce.
To get even more flavor, try marinating your shrimp in the garlic butter mixture for 15-30 minutes before baking, and don’t skip patting the shrimp dry with paper towels first, which helps them cook evenly and prevents excess water from diluting your sauce.
Finally, add the lemon juice right before serving rather than letting it sit, as the acid can make the shrimp mushy if left too long.
What to Serve With Garlic Butter Shrimp?
Since this is a keto-friendly dish, I love serving garlic butter shrimp over cauliflower rice or zucchini noodles to soak up all that amazing garlicky butter sauce. A simple side salad with mixed greens, cucumber, and a light vinaigrette keeps things fresh and balances out the richness of the butter. If you’re not strictly keto, this shrimp is also fantastic tossed with regular pasta or served alongside crusty bread for dipping. For a complete meal, try pairing it with roasted asparagus or sautéed green beans that you can cook right in the same pan after the shrimp is done.
Storage Instructions
Store: Keep any leftover garlic butter shrimp in an airtight container in the fridge for up to 3 days. The shrimp will firm up a bit when cold, but the garlic butter flavor actually gets even better as it sits!
Reheat: Warm the shrimp gently in a skillet over low heat for just a minute or two until heated through. You can also microwave on 50% power in 30-second intervals, but be careful not to overcook or the shrimp will get rubbery.
Make Ahead: While shrimp is best cooked fresh, you can prep everything ahead by cleaning the shrimp and mixing your garlic butter sauce. Store them separately in the fridge, then it only takes 5 minutes to cook when you’re ready to eat.
| Preparation Time | 10-15 minutes |
| Cooking Time | 20-25 minutes |
| Total Time | 30-40 minutes |
| Level of Difficulty | Easy |
| Servings | 4 servings |
Estimated Nutrition
Estimated nutrition for the whole recipe (without optional ingredients):
- Calories: 700-800
- Protein: 70-80 g
- Fat: 40-48 g
- Carbohydrates: 5-8 g
Ingredients
- 1 lb shrimp (peeled and deveined with tails on for presentation)
- 6 tbsp unsalted butter
- 6 garlic cloves (finely minced for even distribution)
- 1 tsp italian seasoning
- 1 1/4 tsp paprika
- 3/4 tsp salt
- 3 tbsp lemon juice (freshly squeezed for best brightness)
- 1/4 tsp red pepper flakes
- 2 tbsp fresh parsley, chopped
Step 1: Prepare Mise en Place and Preheat
- 1 lb shrimp
- 6 garlic cloves, finely minced
- 3 tbsp lemon juice, freshly squeezed
- 2 tbsp fresh parsley, chopped
- 1 tsp italian seasoning
- 1 1/4 tsp paprika
- 3/4 tsp salt
- 1/4 tsp red pepper flakes
Preheat your oven to 350°F.
While it heats, pat the shrimp dry with paper towels—this helps them cook more evenly and prevents excess moisture in the butter sauce.
Finely mince the garlic cloves, squeeze the lemon juice into a small bowl, chop the fresh parsley, and measure out the Italian seasoning, paprika, salt, and red pepper flakes into a small bowl.
Having everything ready ensures smooth cooking and prevents burning the garlic.
Step 2: Arrange Shrimp and Build the Garlic Butter Base
- Shrimp from Step 1, arranged in baking dish
- 6 tbsp unsalted butter
- Minced garlic from Step 1
Arrange the dried shrimp in a single layer in a baking dish (9×13 inch or similar).
In a skillet over medium heat, melt the butter slowly, then add the minced garlic and cook for about 2 minutes, stirring frequently, until fragrant but not browned—garlic can turn bitter quickly, so watch it carefully.
I like to use medium heat here rather than high to ensure the garlic develops a sweet, mellow flavor without any burnt edges.
Step 3: Season the Butter and Pour Over Shrimp
- Garlic butter from Step 2
- Spice mixture from Step 1
Remove the garlic butter from heat and immediately stir in the seasoning mixture from Step 1 (Italian seasoning, paprika, salt, and red pepper flakes).
Let it sit for about 30 seconds off the heat so the spices bloom and release their flavors into the butter.
Pour the entire mixture evenly over the shrimp, making sure each piece gets coated with the aromatic butter.
Step 4: Bake and Finish with Brightness
- Shrimp with butter from Step 3
- Lemon juice from Step 1
- Fresh parsley from Step 1
Bake the shrimp in the preheated 350°F oven for 18-20 minutes, until the shrimp are opaque and cooked through—they’ll turn from translucent to white.
Remove from the oven and immediately squeeze the fresh lemon juice over the hot shrimp, stirring gently to distribute it.
I always add the lemon juice after cooking rather than before because the heat helps release those bright citrus flavors and prevents them from being cooked off.
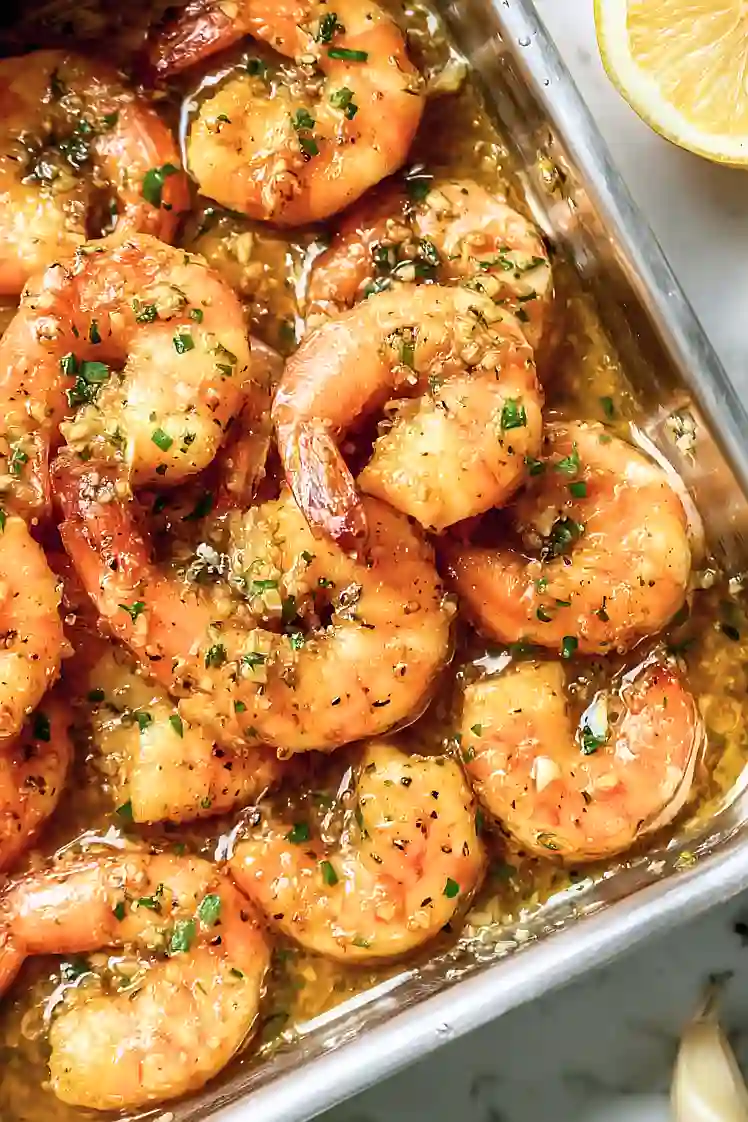
Garnish with the chopped fresh parsley and serve immediately while the butter is still warm.

Best Keto Garlic Butter Shrimp
Ingredients
Method
- Preheat your oven to 350°F. While it heats, pat the shrimp dry with paper towels—this helps them cook more evenly and prevents excess moisture in the butter sauce. Finely mince the garlic cloves, squeeze the lemon juice into a small bowl, chop the fresh parsley, and measure out the Italian seasoning, paprika, salt, and red pepper flakes into a small bowl. Having everything ready ensures smooth cooking and prevents burning the garlic.
- Arrange the dried shrimp in a single layer in a baking dish (9x13 inch or similar). In a skillet over medium heat, melt the butter slowly, then add the minced garlic and cook for about 2 minutes, stirring frequently, until fragrant but not browned—garlic can turn bitter quickly, so watch it carefully. I like to use medium heat here rather than high to ensure the garlic develops a sweet, mellow flavor without any burnt edges.
- Remove the garlic butter from heat and immediately stir in the seasoning mixture from Step 1 (Italian seasoning, paprika, salt, and red pepper flakes). Let it sit for about 30 seconds off the heat so the spices bloom and release their flavors into the butter. Pour the entire mixture evenly over the shrimp, making sure each piece gets coated with the aromatic butter.
- Bake the shrimp in the preheated 350°F oven for 18-20 minutes, until the shrimp are opaque and cooked through—they'll turn from translucent to white. Remove from the oven and immediately squeeze the fresh lemon juice over the hot shrimp, stirring gently to distribute it. I always add the lemon juice after cooking rather than before because the heat helps release those bright citrus flavors and prevents them from being cooked off. Garnish with the chopped fresh parsley and serve immediately while the butter is still warm.