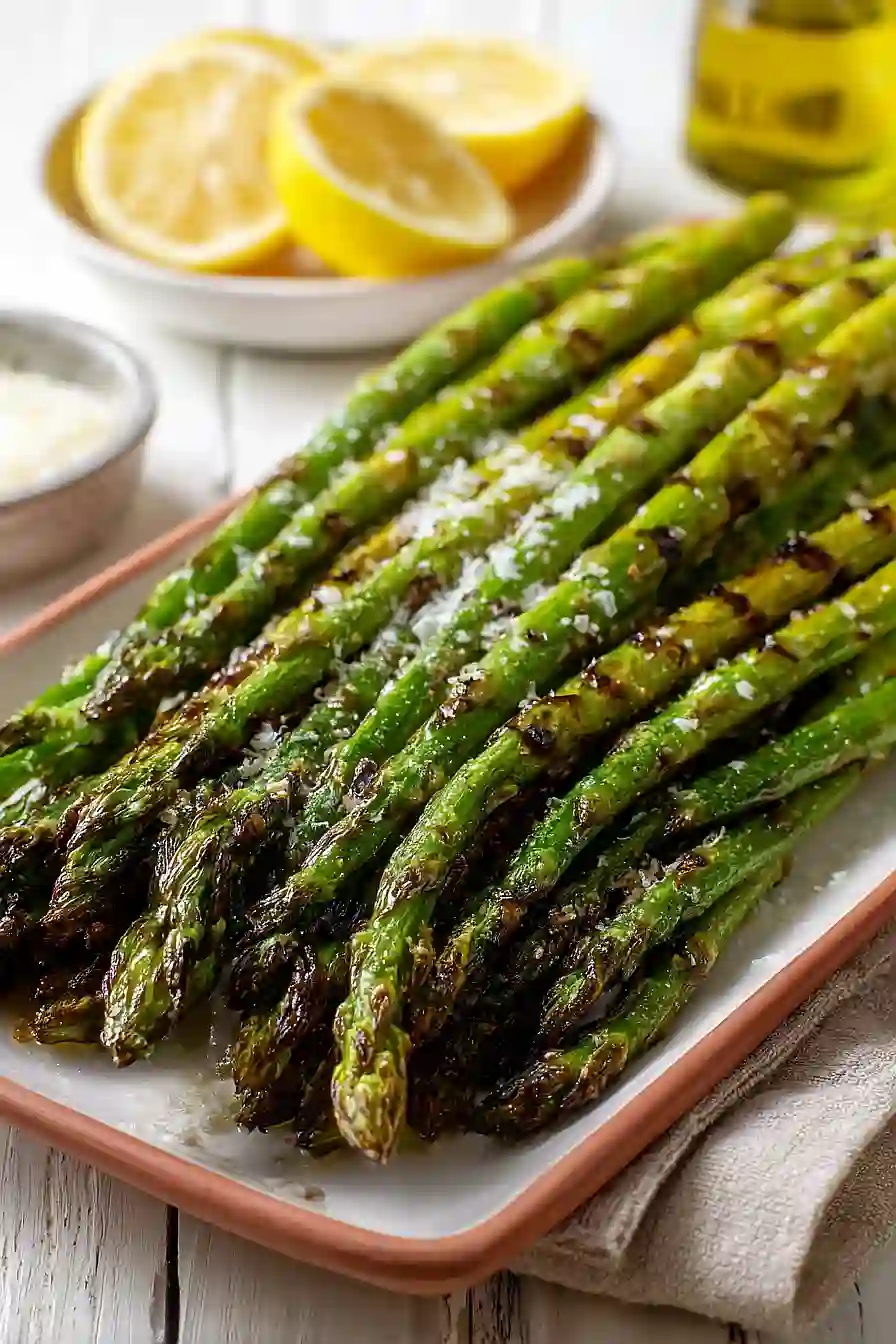
Here is my favorite grilled asparagus recipe, with just a few simple ingredients – olive oil, garlic powder, lemon zest, salt, and pepper – that bring out the natural flavor of the asparagus.
This grilled asparagus is my go-to side dish during spring and summer when asparagus is at its best. It takes less than 15 minutes from start to finish, and my kids actually eat their vegetables without complaining!
Why You’ll Love This Grilled Asparagus
- Ready in minutes – This grilled asparagus takes less than 30 minutes from start to finish, making it perfect for busy weeknights when you need a quick side dish.
- Minimal ingredients – You only need four simple ingredients that you probably already have in your kitchen – asparagus, olive oil, salt, and pepper.
- Healthy and light – Asparagus is naturally low in calories and packed with nutrients, so you can feel good about adding this to your plate.
- Easy preparation – Just toss the asparagus with oil and seasonings, throw it on the grill, and you’re done – no complicated steps or techniques required.
What Kind of Asparagus Should I Use?
When picking out asparagus at the store, you’ll find thin, medium, and thick spears – and honestly, any of them will work great on the grill. Thicker spears tend to be a bit easier to handle since they won’t fall through the grill grates as easily, plus they stay nice and tender on the inside while getting a good char on the outside. Look for asparagus with tight, closed tips and firm stalks, avoiding any that look dried out or slimy at the ends. Before grilling, just snap off the woody bottom part of each spear – it’ll naturally break right where the tender part begins.
Options for Substitutions
This simple recipe is pretty straightforward, but here are a few options if you need them:
- Asparagus: Fresh asparagus is really the star here and shouldn’t be substituted since this is a grilled asparagus recipe. Make sure to choose firm, bright green spears with tight tips for the best results.
- Olive oil: You can swap olive oil with avocado oil or melted butter if that’s what you have on hand. Both will give the asparagus a nice coating and help prevent sticking on the grill.
- Salt and pepper: While basic salt and pepper work great, feel free to add garlic powder, lemon zest, or parmesan cheese after grilling for extra flavor. You could also use seasoned salt instead of regular salt.
Watch Out for These Mistakes While Grilling
The biggest mistake people make with grilled asparagus is choosing spears that are too thin, which cook unevenly and can fall through the grill grates – look for medium to thick stalks that are about the width of your pinky finger for the best results.
Another common error is forgetting to trim the woody ends before grilling, so snap off the bottom inch or two where the stalk naturally breaks, ensuring every bite is tender.
Overcooking is easy to do since asparagus goes from perfectly crisp-tender to mushy in just a minute or two, so watch them closely and remove them from the heat when they’re still bright green with a slight char.
For extra flavor, try adding a squeeze of lemon juice or a sprinkle of parmesan cheese right after they come off the grill while they’re still hot.
What to Serve With Grilled Asparagus?
Grilled asparagus is a great side dish that pairs well with just about any protein you’re cooking on the grill. I love serving it alongside grilled chicken, steak, or salmon for an easy weeknight dinner that feels a bit fancy. If you’re going for a full cookout spread, it works perfectly with burgers or grilled pork chops too. For a lighter meal, you can toss the grilled asparagus with some pasta, lemon juice, and parmesan cheese, or serve it over quinoa with a drizzle of balsamic glaze.
Storage Instructions
Store: Grilled asparagus keeps well in the fridge for about 3-4 days in an airtight container. It’s great to have on hand for quick lunches or as a side dish throughout the week. I like to toss it into salads or enjoy it cold with a squeeze of lemon.
Serve: You can enjoy leftover grilled asparagus cold straight from the fridge, or warm it up gently in the microwave for about 30 seconds. If you want to bring back some of that grilled flavor, try reheating it in a skillet over medium heat for a minute or two.
| Preparation Time | 10-15 minutes |
| Cooking Time | 5-10 minutes |
| Total Time | 15-30 minutes |
| Level of Difficulty | Easy |
| Servings | 4 servings |
Estimated Nutrition
Estimated nutrition for the whole recipe (without optional ingredients):
- Calories: 100-130
- Protein: 6-8 g
- Fat: 7-10 g
- Carbohydrates: 10-13 g
Ingredients
- 1 lb asparagus (tough ends trimmed off, about 1-inch from the bottom)
- 1.5 tbsp olive oil (I prefer Bertolli Extra Virgin for roasting and grilling)
- 1/4 tsp garlic powder
- 1/2 tsp lemon zest
- salt to taste
- black pepper to taste
Step 1: Prepare the Asparagus and Season
- 1 lb asparagus
- 1.5 tbsp olive oil
- 1/4 tsp garlic powder
- 1/2 tsp lemon zest
- salt to taste
- black pepper to taste
Trim the tough, woody ends from the asparagus by snapping them off at the natural breaking point (usually about 1 inch from the bottom) or cutting them with a knife.
Rinse the spears and pat them completely dry with paper towels—this is crucial for getting good contact with the grill grates and preventing steaming.
In a large bowl, toss the dried asparagus with olive oil, garlic powder, lemon zest, and a generous pinch of salt and black pepper.
Make sure every spear is evenly coated by tossing gently with your hands or two spoons.
Step 2: Heat the Grill and Prepare the Grates
Preheat your grill to high heat (around 400-450°F if using a gas grill).
Once hot, oil the grill grates well by carefully rubbing them with an oil-soaked paper towel using tongs.
This prevents the asparagus from sticking and helps create those desirable char marks.
The grates should be hot enough that water droplets sizzle immediately on contact.
Step 3: Grill and Char the Asparagus
- seasoned asparagus from Step 1
Carefully lay the seasoned asparagus spears perpendicular to the grill grates so they don’t fall through.
Grill for 3-5 minutes, turning the spears every 60-90 seconds using tongs to ensure even charring and cooking on all sides.
I like to listen for the sizzle when I first place them—that’s the sign of proper heat.
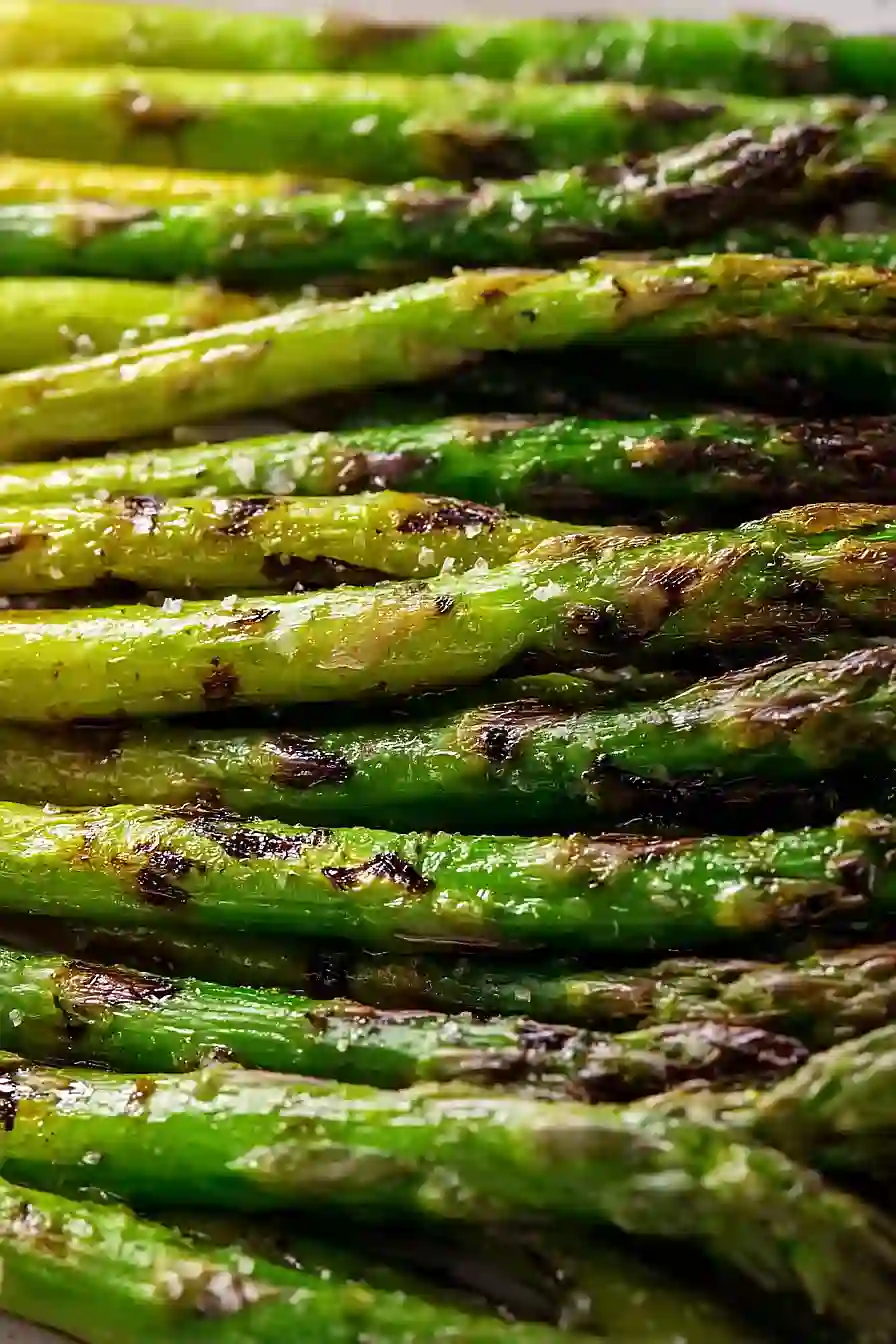
The asparagus is done when the tips are slightly charred, the spears have light grill marks, and they’re tender-crisp when pierced with a fork.
Step 4: Serve Immediately
- grilled asparagus from Step 3
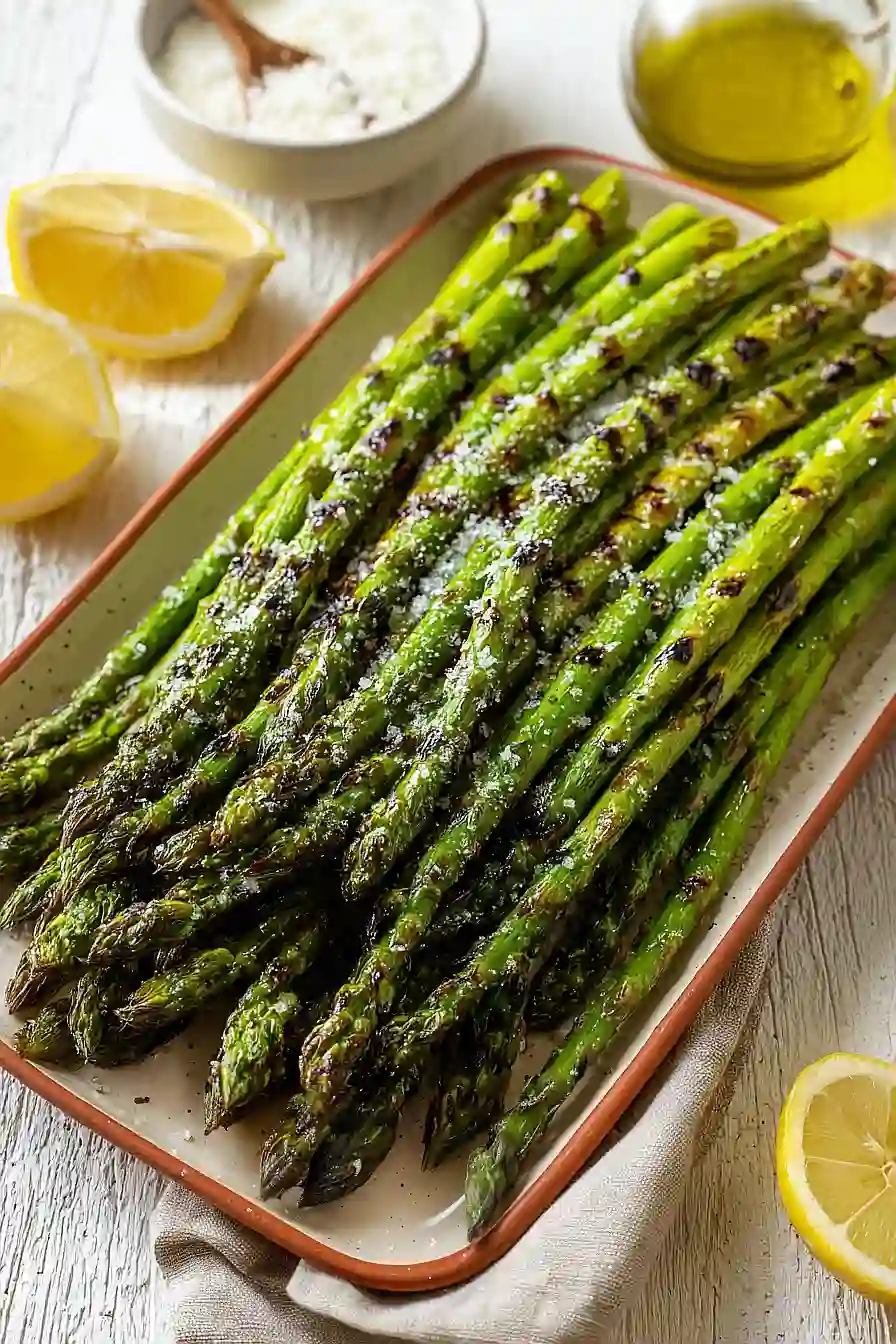
Transfer the grilled asparagus to a serving platter or individual plates while still hot.
Serve right away to enjoy the best texture and flavor—the residual heat will keep them warm for a few minutes.

Homemade Grilled Asparagus
Ingredients
Method
- Trim the tough, woody ends from the asparagus by snapping them off at the natural breaking point (usually about 1 inch from the bottom) or cutting them with a knife. Rinse the spears and pat them completely dry with paper towels—this is crucial for getting good contact with the grill grates and preventing steaming. In a large bowl, toss the dried asparagus with olive oil, garlic powder, lemon zest, and a generous pinch of salt and black pepper. Make sure every spear is evenly coated by tossing gently with your hands or two spoons.
- Preheat your grill to high heat (around 400-450°F if using a gas grill). Once hot, oil the grill grates well by carefully rubbing them with an oil-soaked paper towel using tongs. This prevents the asparagus from sticking and helps create those desirable char marks. The grates should be hot enough that water droplets sizzle immediately on contact.
- Carefully lay the seasoned asparagus spears perpendicular to the grill grates so they don't fall through. Grill for 3-5 minutes, turning the spears every 60-90 seconds using tongs to ensure even charring and cooking on all sides. I like to listen for the sizzle when I first place them—that's the sign of proper heat. The asparagus is done when the tips are slightly charred, the spears have light grill marks, and they're tender-crisp when pierced with a fork.
- Transfer the grilled asparagus to a serving platter or individual plates while still hot. Serve right away to enjoy the best texture and flavor—the residual heat will keep them warm for a few minutes.